Slip ducts can be installed where there is a gap between two pieces of ducting that is not a standard length. Our Express Duct Slip Ducting comes in three lengths to cover a range of requirements:
- 500mm
- 1 metre
- 1.5 metres
This enables slipped ducting to bridge most gaps (larger gaps would require a standard length of clipped ducting).
Connecting clipped ducting to a slip duct is a simple process
1. Measure out the gap in your system. Fit the slip end of the slip duct inside your ducting. Push it down until it is at the required length. Once that’s done, pull the slip collar down to prevent further movement.
2. Once this is done, secure a clip between the duct & the slip duct to ensure that everything is held in place.
3. Once the clip is secure, inspect the ducting to ensure you have it the correct way around to create a smooth airflow (Direction) i.e. Air flows over the internal slip joint
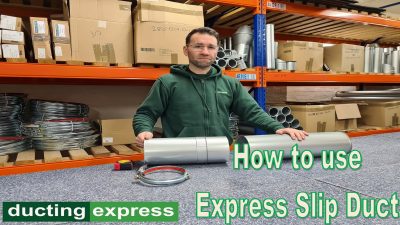
We have prepared a video of this which should make the process easier & show how simple it is to fit different items together. This video forms part of a series on clipped ducting so that installers can quickly assemble different pieces within the Express Duct range.
The great thing about Express Duct clipped ducting is that it’s easy to install, it has a smooth internal finish, it can be easily adapted to existing systems, it doesn’t need rivets, screws or welding & it can be quickly dismantled or accessed for cleaning.
Further Information
If you have any questions about clipped ducting, our Express Duct slip duct, give Ducting Express a call at 01455 616 444. A member of our experienced team can provide you with further information suited to your workshop’s requirements.